Djnago(pythonのlaravelみたいなWebフレームワーク)入門。標準でadmin機能があって、モデル追加すると管理画面に反映できる!
0, まずは、hello,worldから
|
1 2 3 4 5 6 7 8 9 10 11 12 13 14 15 |
# Djangoのインストール pip install django # Djangoプロジェクト生成 django-admin startproject helloproject # Djangoプロジェクト構成 helloproject/ ← 外側のフォルダ(プロジェクトルート) ├── manage.py ← コマンド用ファイル(Laravelでいう artisan) ├── helloproject/ ← 内側のフォルダ(実際のプロジェクト設定) │ ├── __init__.py │ ├── settings.py ← 設定ファイル(DB接続やアプリ登録など) │ ├── urls.py ← URLルーティング │ ├── asgi.py │ └── wsgi.py |
helloproject/urls.py を修正
|
1 2 3 4 5 6 7 8 9 10 11 12 |
from django.contrib import admin from django.urls import path from django.http import HttpResponse # ← 追加 # ビュー関数をここに定義(本来はviews.pyに書くが、今回はシンプルに直書き) def hello_world(request): return HttpResponse("Hello, world!") urlpatterns = [ path('admin/', admin.site.urls), path('', hello_world), # ← ルートURLにマッピング ] |
|
1 2 |
# 開発サーバ起動 python manage.py runserver |
http://127.0.0.1:8000/
で、hello,worldと表示される。
1, テンプレート(HTML)で表示
Djanagoでは、機能(アプリ)毎にフォルダを分ける。
認証機能 → accounts アプリ
ブログ機能 → blog アプリ
商品管理 → products アプリ
みたいな感じ。
① フォルダ作成(helloアプリ機能)
|
1 2 |
# コマンドで生成 python manage.py startapp hello |
② HTMLファイル作成:helloproject/hello/templates/hello/index.html
|
1 2 3 4 5 6 7 8 9 10 |
<!DOCTYPE html> <html> <head> <title>Hello Page</title> </head> <body> <h1>Hello, world from template!</h1> <h1>Hello {{ name }}</h1> </body> </html> |
③ helloproject/urls.py を修正
|
1 2 3 4 5 6 7 8 9 10 11 |
from django.contrib import admin from django.urls import path from django.http import HttpResponse # ← 追加 from django.shortcuts import render # ← 追加 def index(request): return render(request, 'hello/index.html', {'name': 'Suzuki'}) urlpatterns = [ path('admin/', admin.site.urls), path('', index), ] |
settings.py の INSTALLED_APPS配列にhelloアプリを追加
|
1 2 3 4 5 6 7 8 9 10 |
INSTALLED_APPS = [ 'django.contrib.admin', 'django.contrib.auth', 'django.contrib.contenttypes', 'django.contrib.sessions', 'django.contrib.messages', 'django.contrib.staticfiles', 'hello', # ← ここ! ] |
2, モデルを作ってDB表示。標準の管理者機能も使う
ステップ1:モデルを定義(hello/models.py)
|
1 2 3 4 5 6 7 |
from django.db import models class Message(models.Model): content = models.CharField(max_length=255) def __str__(self): return self.content # 管理画面などで表示される内容 |
ステップ2:マイグレーション(DBテーブル作成)
|
1 2 3 4 5 6 7 8 |
# モデル定義をマイグレーションファイルに変換 python manage.py makemigrations hello Migrations for 'hello': hello\migrations\0001_initial.py + Create model Message # 実際にDBへ反映 python manage.py migrate |
ステップ3:管理画面に登録
|
1 2 3 4 5 |
# hello/admin.py from django.contrib import admin from .models import Message admin.site.register(Message) |
|
1 2 |
# 管理者ユーザー作成 python manage.py createsuperuser |
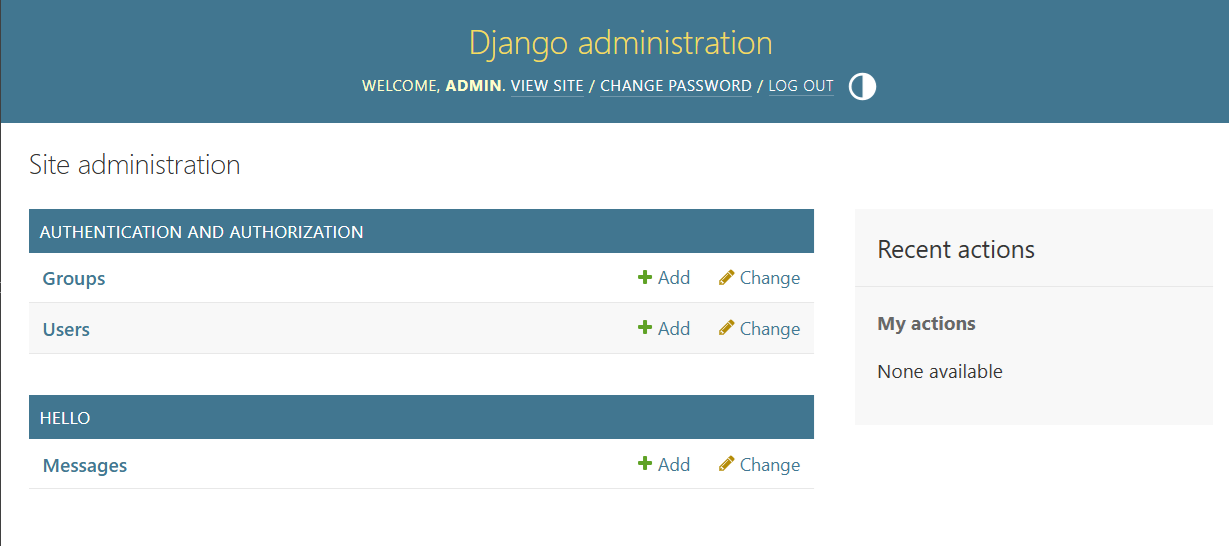
Djanagoは最初から管理画面機能が用意されていて、管理画面も管理者ログインも出来る!
モデル追加すると管理画面に反映できる!
http://127.0.0.1:8000/admin/
ステップ4:ビューでDBからデータを取得(helloproject/urls.py)
|
1 2 3 4 5 6 7 8 9 10 11 12 13 14 15 16 |
from django.contrib import admin from django.urls import path from django.shortcuts import render from hello.models import Message # ← これを追加 def index(request): messages = Message.objects.all() # ← DBからデータ取得 return render(request, 'hello/index.html', { 'messages': messages, }) urlpatterns = [ path('admin/', admin.site.urls), path('', index), ] |
ステップ5:テンプレートで一覧表示(hello/templates/hello/index.html)
|
1 2 3 4 5 6 7 8 9 10 11 12 13 14 15 16 |
<!DOCTYPE html> <html> <head> <title>メッセージ一覧</title> </head> <body> <h1>登録されたメッセージ</h1> <ul> {% for message in messages %} <li>{{ message.content }}</li> {% empty %} <li>メッセージがありません</li> {% endfor %} </ul> </body> </html> |
3. 一般ユーザログイン
管理画面から、一般ユーザ作成が出来るので先に作っておく
ステップ1:一般ユーザ用のルーティング追加
helloproject/urls.py
|
1 2 3 4 5 6 7 8 9 10 11 12 13 14 15 16 17 18 19 20 |
from django.contrib import admin from django.urls import path from django.shortcuts import render from hello.models import Message from django.urls import path, include # ← 追加 from hello import views # ← hello/views.py の index を使うように def index(request): messages = Message.objects.all() # ← DBからデータ取得 return render(request, 'hello/index.html', { 'messages': messages, }) urlpatterns = [ path('admin/', admin.site.urls), # path('', index), path('', views.index), # ← views.py の login_required付き index に差し替え path('accounts/', include('django.contrib.auth.urls')), # ← 追加 ] |
これで以下のURLが使えるようになります:
/accounts/login/ ログインページ
/accounts/logout/ ログアウトページ
/accounts/password_change/ パスワード変更
/accounts/password_reset/ パスワードリセット(メール必要)
settings.pyでリダイレクト先を指定
|
1 2 |
LOGIN_REDIRECT_URL = '/' LOGOUT_REDIRECT_URL = '/' |
ステップ2:ログイン画面を用意する
Djangoのログインビューはテンプレートを自動では作ってくれません。
自分で registration/login.html を作る必要があります。
hello/templates/registration/login.html
|
1 2 3 4 5 6 7 8 9 10 11 12 13 14 15 16 17 |
<!DOCTYPE html> <html> <head> <title>ログイン</title> </head> <body> <h1>ログイン</h1> {% if form.errors %} <p style="color:red;">ユーザー名かパスワードが間違っています</p> {% endif %} <form method="post"> {% csrf_token %} {{ form.as_p }} <button type="submit">ログイン</button> </form> </body> </html> |
ステップ3:ログイン必須のページを作る
hello/views.py
|
1 2 3 4 5 6 7 8 |
from django.contrib.auth.decorators import login_required from django.shortcuts import render from .models import Message @login_required def index(request): messages = Message.objects.all() return render(request, 'hello/index.html', {'messages': messages}) |
ステップ4:トップ画面を、ログイン対応する。ログインしていない状態だとログイン画面にリダイレクトされる。
|
1 2 3 4 5 6 7 8 9 10 11 12 13 14 15 16 17 18 19 20 21 22 23 24 25 26 27 |
<!DOCTYPE html> <html> <head> <title>メッセージ一覧</title> </head> <body> <h1>登録されたメッセージ</h1> <ul> {% for message in messages %} <li>{{ message.content }}</li> {% empty %} <li>メッセージがありません</li> {% endfor %} </ul> {% if user.is_authenticated %} <p>{{ user.username }} さん、こんにちは!</p> <form method="post" action="{% url 'logout' %}"> {% csrf_token %} <button type="submit">ログアウト</button> </form> {% else %} <a href="{% url 'login' %}">ログイン</a> {% endif %} </body> </html> |